
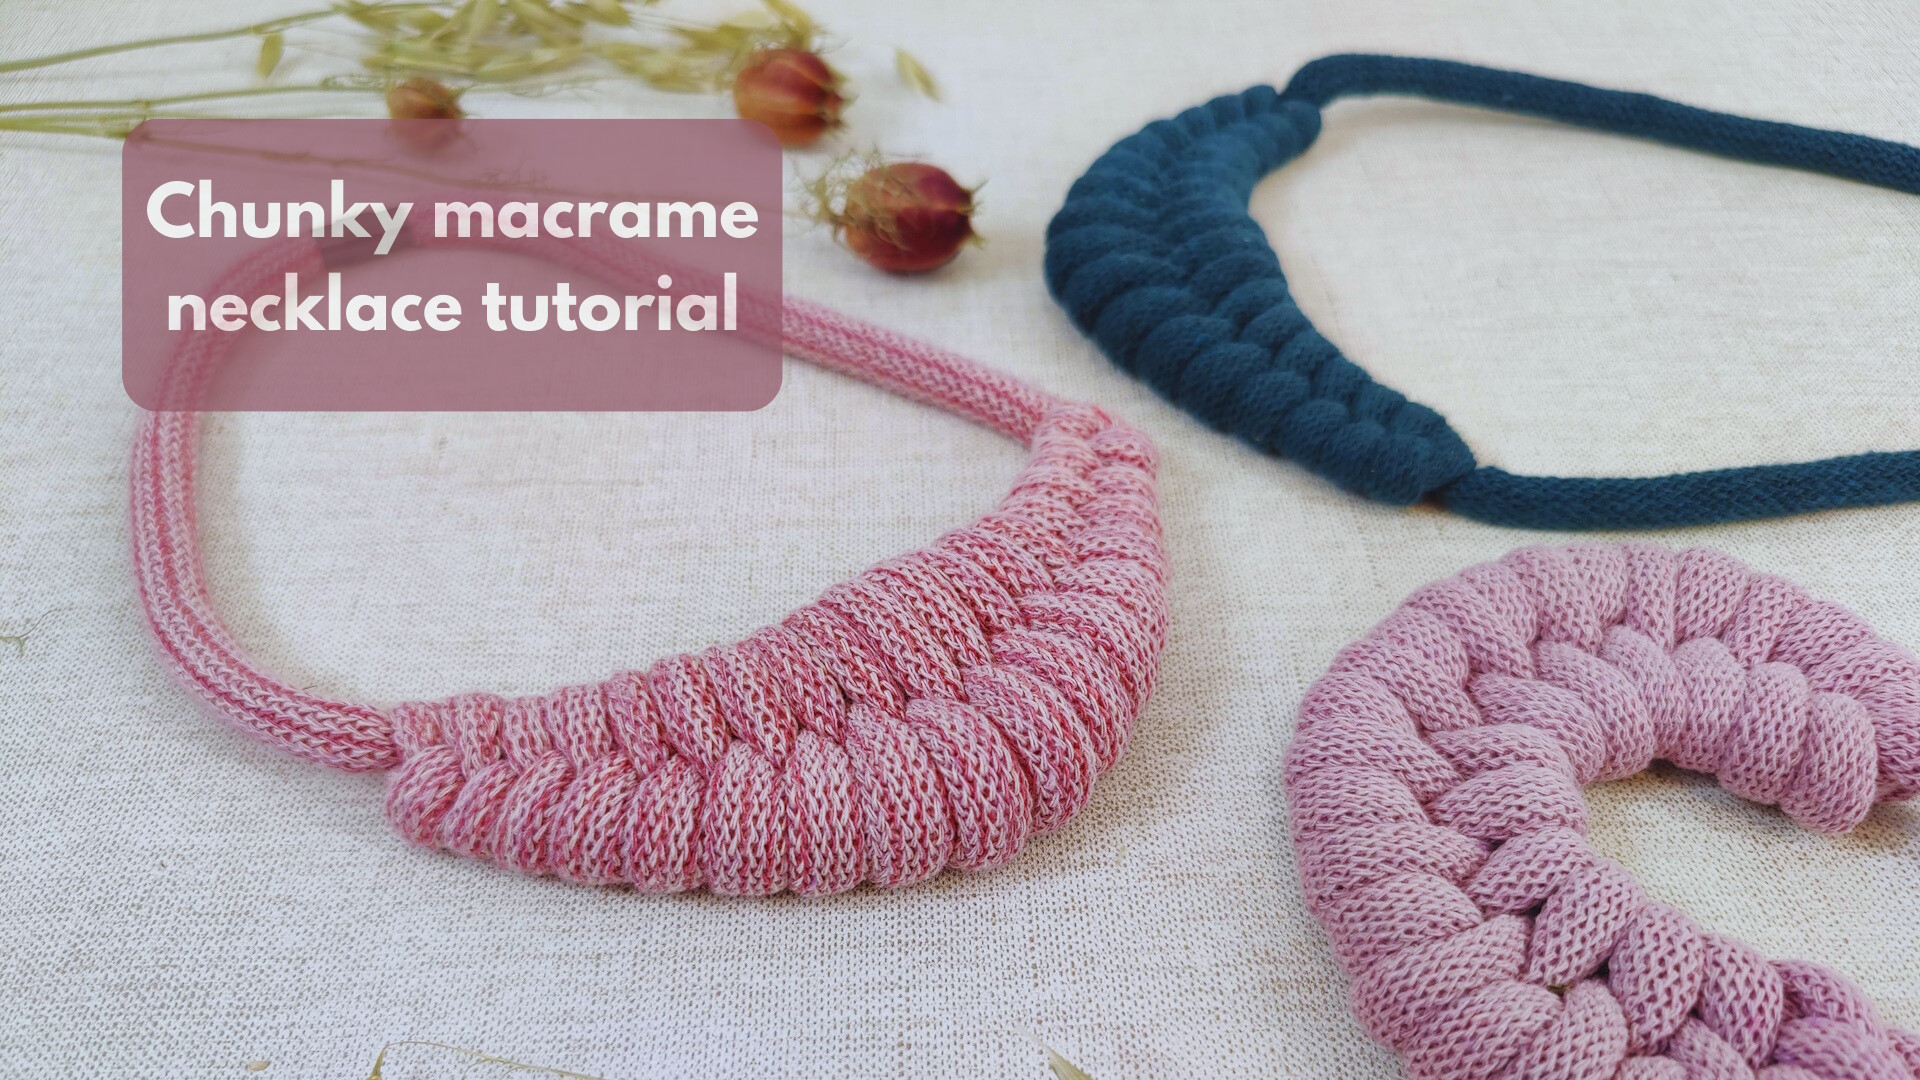
If you love chunky macrame projects, then this DIY macrame necklace tutorial is for you!
Using a single length of cord and just one type of knot, you can create a variety of chunky macrame necklace designs to suit your personal style!
Keep reading to learn how to make this gorgeous macrame necklace in less than 10 minutes of work!
If you want to save this project for a rainy day, join our newsletter below and we’ll send you a free PDF of this tutorial!
Affiliate disclosure: Articles on Tiny Workshops may contain affiliate links.
How to make a chunky DIY macrame necklace

Before getting started, you’ll need to gather a modest list of supplies:
- 2.5 meters (9 feet) of 9mm braided macrame cord
- (Optional) magnetic clasp
For the cord, I recommend getting Bobbiny 9mm braided cord. It’s by far my favorite cord, and it’s available in tons of great colors. Ganxxet sells a good alternative if you can’t find the right color.

No matter where shop, it’s essential that you use a large braided macrame cord with a soft core to get the best results. It’s soft and squishy with just the right amount of stretch.
If you’re new to macrame check out my macrame cord guide to learn more!
The magnetic clasps add a nice finishing touch to the piece (these ones are the right size), but they’re not strictly necessary. You can tie a simple knot when wearing the necklace.
The entire process takes about 15 minutes, even if you’re new to macrame. Let’s get to it!

Step 1
Measure 45cm (18in) from one end, then bend the rest below as in the photo.

Step 2
Measure 20cm (8in) from the bend in step 1 and slip the bottom (working) cord beneath the top cord.

Step 3
Slip your working cord over the top cord, then under the bottom cord.

Step 4
Slip your working cord over the bottom cord, then under the top cord. This is called a figure eight knot.

Step 5
Tighten the knot as much as you can.

Step 6
Tie two more figure eight knots, again tightening as much as possible.

Step 7
Starting with the fourth figure eight knot, tighten each knot slightly less, creating a wider knot.

Step 8
Continue this process until the ninth knot. This should be the widest point in your piece.

Step 9
Starting with the tenth knot, begin tightening each figure eight knot slightly more, creating a thinner knot.

Step 10
Starting with the sixteenth knot, tighten each knot as much as possible.

Step 11
Stop halfway through the eighteenth knot, as in the photo. Don’t worry if you can’t tighten the last knot completely.

Step 12
Holding your knots in one hand, pull the cord on the left to close the loop on the right completely.

Step 13
Pull the right cord to tighten your final knots, then tidy up the spacing between knots and shape the piece by gently pulling the knots.

Step 14 (optional)
If you’re using magnetic clasps, cut ends at your desired length.

Step 15 (optional)
Using a small amount of super glue, attach the magnetic clasp to each end of the necklace.
And that’s all there is to it!
Your finished product should look something like this:

I’ve found that these necklaces hold together very well on their own, but if you’re worried about the knots coming undone you can add a small drop of PVA glue to the inside of your first and last figure eight knots.
Just make sure you don’t glue it until you’re happy with the shape!

Note that you cannot wash this piece, as it will lose its shape, even if glued. You may be able to spot clean but don’t get it too wet.
If you do end up ruining it somehow, it’s quick and easy to make a new one! And on that note…
Chunky macrame necklace tutorial variations

There are a lot of ways you can customize this chunky macrame tutorial to suit your personal style!
Obviously, you can just purchase more colors of cord, but considering these are typically sold in 100-yard increments, this can be pricey.
Here are a few options to give you an idea of how you can adopt this design without spending more!

Although it will require a few more meters of cord, you can extend the tight sections at the end much higher up to create more of a choker look.
In total, this might use 1.5m more cord, which is nothing compared to something like a macrame wall hanging or curtain.

Another option is to make all of your figure eight knots loose, creating an even chunkier macrame necklace. This creates a bolder design that’s sure to turn heads!
Keep in mind that you can lengthen the necklace as above with these chunkier knots, too.

If you want a tighter circle, wrap the cord around the bottom filler cord twice (Step 4) for each figure eight knot. This will make the knots curl upwards, creating a semicircle.
This approach also works best if you don’t tighten the knots all the way. Keep it nice and chunky!
Here’s what the knot looks like looks like with a double wrap on the bottom cord:

The result is a nice circle, although the middle of the figure eight knots looks a bit more messy.
If you’re willing to invest in more accessories, you can also add a large pendant or bead to the middle knot. Just be aware that the more weight you add the more stress you’re putting on the magnetic clasp (not to mention your neck!).
That’s it for this chunky DIY macrame necklace tutorial! Have any more suggestions for variations? Drop them in the comments below!
Leave a Reply