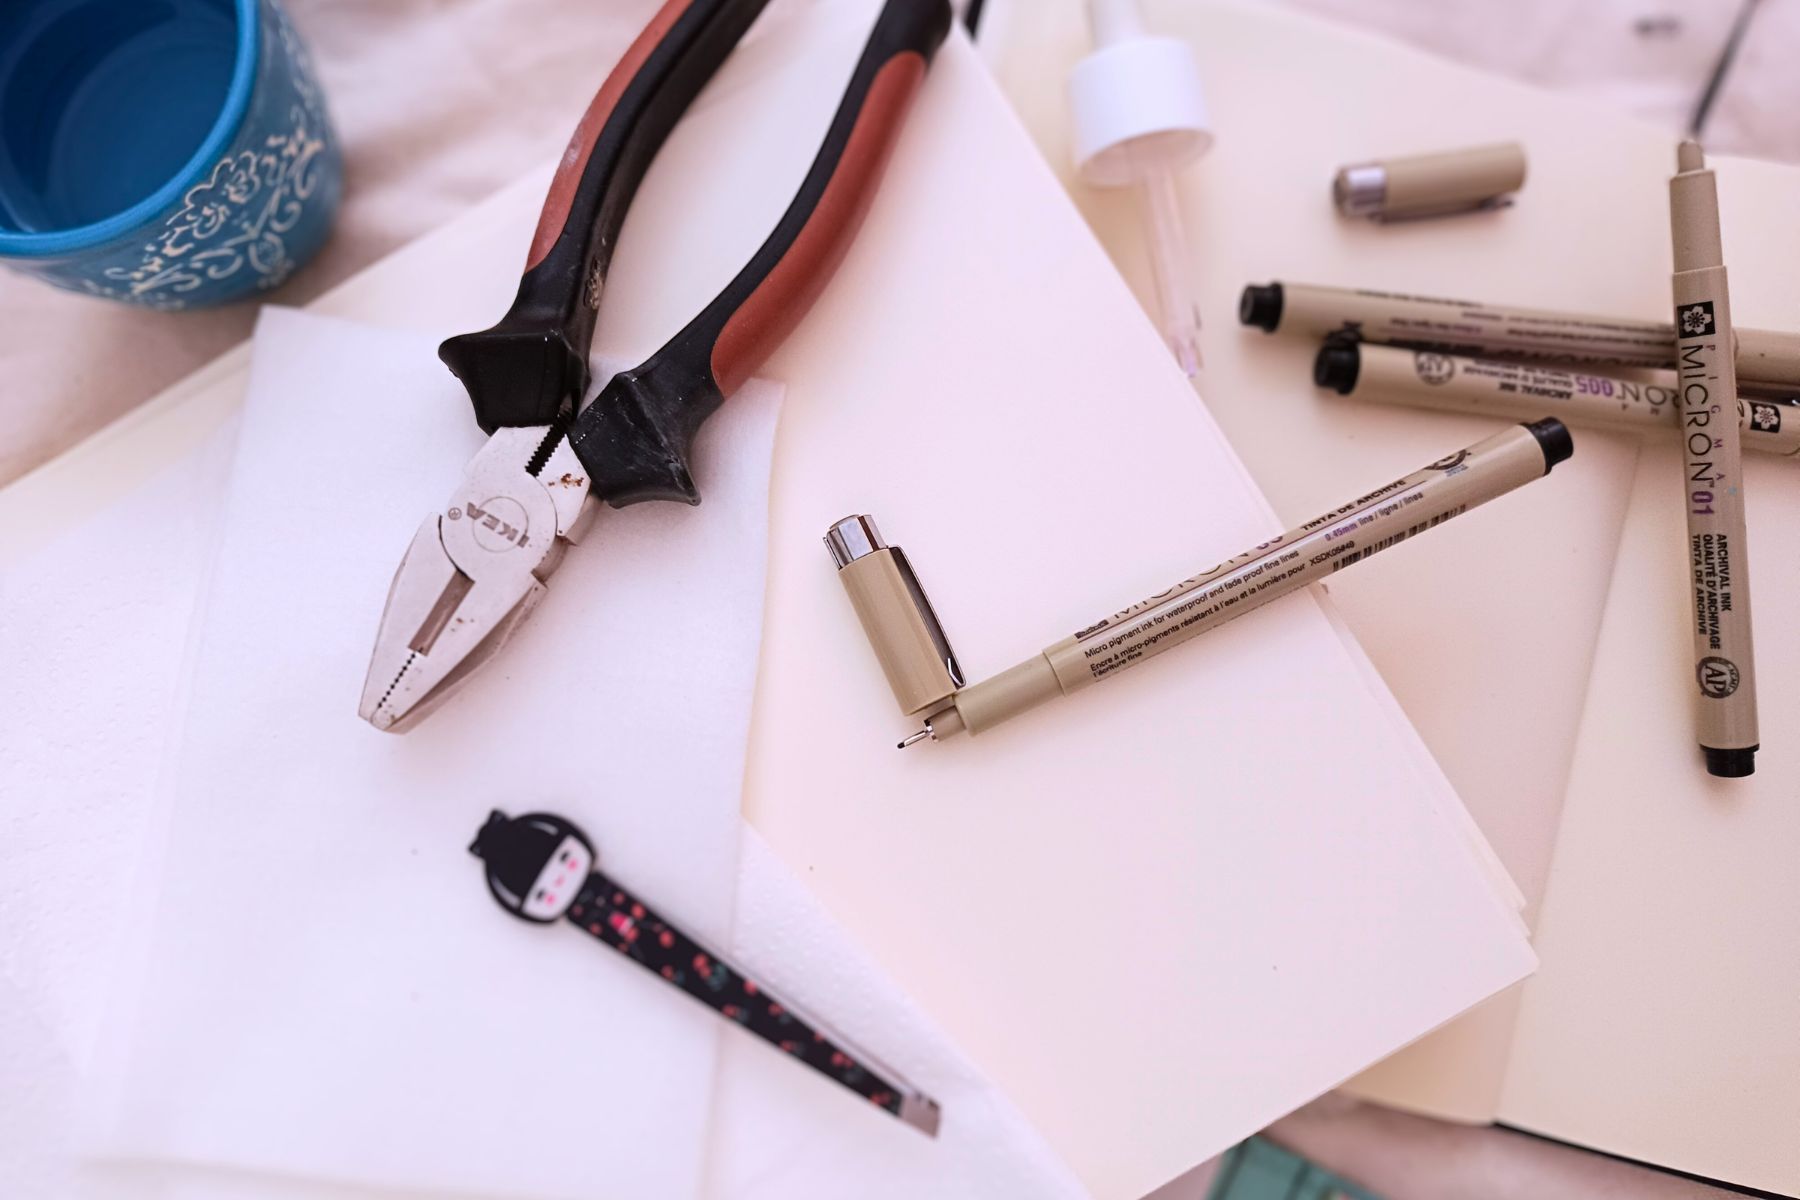
Sakura’s Pigma Micron pens are definitely at the top of the art pen pedestal for me and have been my go-to fineliners for years.
But, they have one major drawback: once the ink goes dry, they’re pretty much ready for the trash can.
However, there is an easy way to extend the life of your fineliner pens with just a few objects you likely have lying around the house.
Discover how to revive Micron pens quickly and effectively in this short tutorial; I’ll walk you through every step!
Affiliate disclosure: Articles on Tiny Workshops may contain affiliate links.
How to revive Micron pens
Learning how to revive Micron pens is very easy; all you need is a little water to make the magic happen.
The process is simple, fast, and inexpensive — and it actually works.
In this tutorial, I’ve shared my preferred approach to reviving Micron pens without having to source new ink or get into lengthy, messy processes.
Before we get into how to revive Micron pens, here’s a lineup of the materials you’ll need:
- Micron pen(s) you want to revive
- Sketchbook/paper
- Tweezers
- Pliers
- Dropper
- A small amount of water
- Paper towel/cotton cloth
Step 1: Prepare your materials

Gather and lay out your materials on your craft table, including your pen(s).

For this tutorial, I used my dried-out 005 (0.2 mm) Pigma Micron pen.

Before reviving my pen’s ink, I like to scribble or doodle something to have something to compare my results with.
As you can see, my ink was very faint, inconsistent, and no longer a dark black.

Like most technical pens, Pigma Micron pens are designed to be held at a 90º angle. Therefore, know that holding your pen inadequately may lead to blocked ink flow.
Before trying to revive your pen, make sure to test it at the correct angle to determine whether the issue is the dried ink or your grip.
Step 2: Disassemble your Micron pens

To start unassembling your pen, use a tweezer or pliers to remove the nib from the barrel.
You won’t be able to do this with your fingers since the tips are incredibly delicate and tiny.

Personally, I prefer using pliers. They require less effort and are not as slippery when gripping compared to household tweezers.
However, don’t squeeze too hard with your pliers; you don’t want to bend or break the pen nib!

Remove the entire nib piece by pulling it out lightly from the barrel.

Once the nib piece is removed, place it on the side with your pen barrel.
Step 3: Revive your Micron pens with water

Next, grab your water and your dropper.

Fill up your dropper with water. Note that you’ll only need 2-3 drops of water to revive each pen.

Squeeze a couple of drops of water into the pen barrel.
After 2-3 drops, gently tap the bottom of the pen on a surface. This will also help get rid of any bubbles that tend to form at the top of the opening.
Step 4: Reassemble your Micron pens

Next, you can begin to reassemble your pen again.
You can put the nib back on your pen manually without the help of pliers or tweezers. Just make sure it’s on tightly.
Step 5: Check the results

Once fully reassembled, shake your pen a few times and test it out!

For longer-lasting ink flow, store your pens horizontally. Also, avoid storing fineliner pens with caps facing down since this may lead to clogged nibs and leaks.
If the color starts to fade over time, refill your Micron pen with waterproof ink instead of water.
That’s it for this guide on how to revive Micron pens! Feel free to drop questions or suggestions in the comments below.


Leave a Reply