
Learning how to fill a water brush pen will only take a few seconds — literally!
While there are different water brush pen designs (for example, some pro-grade models feature push buttons), once you’ve used one, you’ve pretty much used them all.
Either way, I’ll show you how to get this done in this super quick tutorial, including step-by-step instructions and a few handy tips for beginners.
Affiliate disclosure: Articles on Tiny Workshops may contain affiliate links.
How to fill a water brush pen
Just bought your first model and ready to learn how to fill a water brush pen?
There’s nothing to it! Once you understand how these tools are designed, it’s easy peasy lemon squeezy.
Here’s how to fill a water brush pen in just a few simple steps.
Step 1: Prepare your materials

Before filling up your water brush pen, take a moment to set up your craft table to get things going once your pen is topped up.
For the process of filling your brush pen, all you need is:
- A water brush pen
- Dropper
- Water (cup, faucet, bottle)
- Paper towels (in case things get messy!)
Step 2: Disassemble your water brush pen

Start by removing the cap from your water brush pen.
This is something I prefer to do, but know that it isn’t necessary until you actually put your tool to use.
This step may also vary depending on your water brush model.

Next, unscrew the barrel from the plastic tip/nib holder.
Step 3: Fill your water brush pens with water

Use your dropper to collect water and fill your pen. The larger the dropper, the quicker this will be.

Another common and practical way to do this is by holding the reservoir directly under a faucet. Just dry it off on a towel.
Step 4: Reassemble your water brush pen

After filling your pen with water, screw the plastic tip/nib holder back onto the barrel.

And there you have it!
Step 5: Check the results

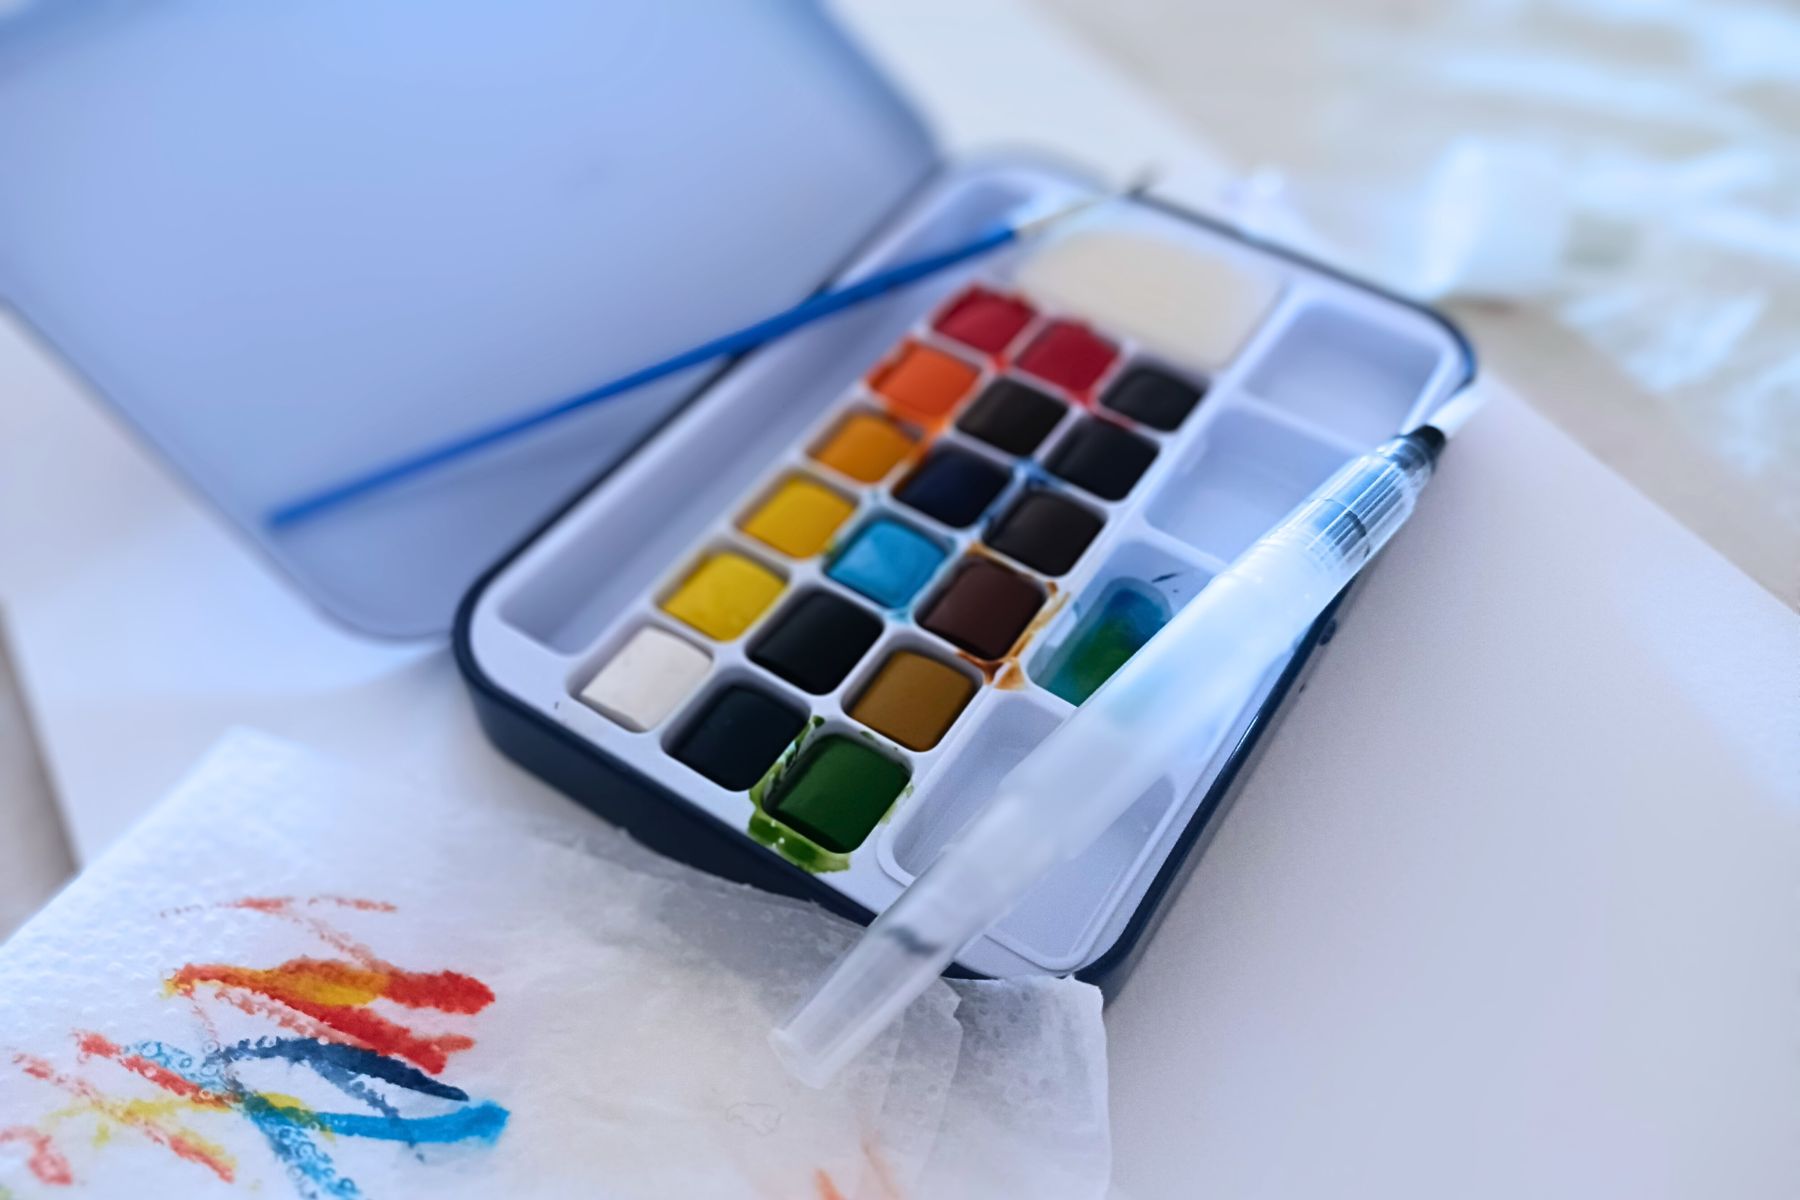
Test your water brush pen with a watercolor set and watercolor sketchbook.
Incorporating watercolor pencils is also a fun idea!
Tap vs. distilled water
If you’re a hobbyist, using regular tap water for watercoloring is perfectly fine.
However, experienced artists typically prefer distilled water to avoid any minerals or impurities that could potentially affect the pigments’ original color and texture.
It’s important to note that tap water won’t damage or make your artwork terrible! On the other hand, if you have high standards for your craft, it’s worth comparing the two to see which one best suits your needs.
How long can you keep water in a water brush pen?
We all know that giving your art supplies the proper care will go a long way. And water brush pens are no different.
My advice is to always empty out your water brush reservoir after use. Leaving water in it for extended periods can damage bristles over time and lead to molding and bacteria growth.
I think I speak for all of us when I say, “Ew”.
Sure, water brush pens are generally cheap (unless you get fancy), but there’s no need to slack off in maintenance, especially when it only takes a few simple steps to keep them in good shape.
Do water brush pens spill?
Water brush pens are great for crafting on the go, but let’s be honest: they aren’t necessarily designed to guarantee zero spillage or leaking.
So, if you’re transporting filled water brush pens in your handbag, know that they may spill.
That’s why I prefer to play it safe in these scenarios and advise you to carry a water bottle with you and fill your empty water brush pen at the park or café instead.
Of course, having your water brush cap on will help prevent water from spilling. Still, this simple practice can help avoid a big, soggy mess!
Can you fill water brush pens with ink or acrylic paint?
You can fill water brush pens with ink and acrylics. But you’ll have to do this properly.
The most important thing to consider is how they dry. You should avoid using pigments that dry crusty, may clog your pen, or make cleaning difficult.
It’s also essential to stick to water-based formulas. Indian ink, for example, is not a good idea! Some fountain pen inks are water-based and can, therefore, be used.
The same applies to acrylics, but they need to be thinned out since they are heavier and thicker.
A cool way to experiment with your water brush pen is to fill it with watercolor ink instead of using a standard watercolor set!
That’s it for this short tutorial on how to fill a water brush pen! Feel free to drop questions or suggestions in the comments below.
Leave a Reply